


Why use floor protection products during construction?
We know, you’re a pro. You may think you’re skilled enough to not make a mistake, but accidents happen. When disaster strikes, don’t let it affect your floors. Take the time to shield your surfaces prior to any work to prevent costly mistakes. When using temporary surface protectors, it not only saves you money but time as well.
In addition to time and money, surface protection products can add an additional line of safety. Falling on the job is one of the most common risks on the job site. When slip resistant surface protectors are put in place, it eliminates the risk of slipping.
How to install surface protection products
Installing surface protection products doesn’t have to be a headache. We’ve compiled 5 simple steps to help guard your surfaces from danger.
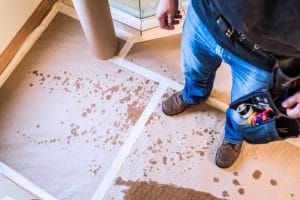
1. Surface preparation before installation
Before laying any material down, clean and dry your floors. This will ensure a secure bond with any adhesive applied to the surface (tape, film, etc.) If these products are not appropriately adhered to the floor, dust and other contaminants can make their way under the product reducing the strength of the sticky backing, therefore putting your surface at risk.
 2. Choosing the right product
 2. Choosing the right product
When choosing what product you’ll be using on your job it’s important to consider the following questions:
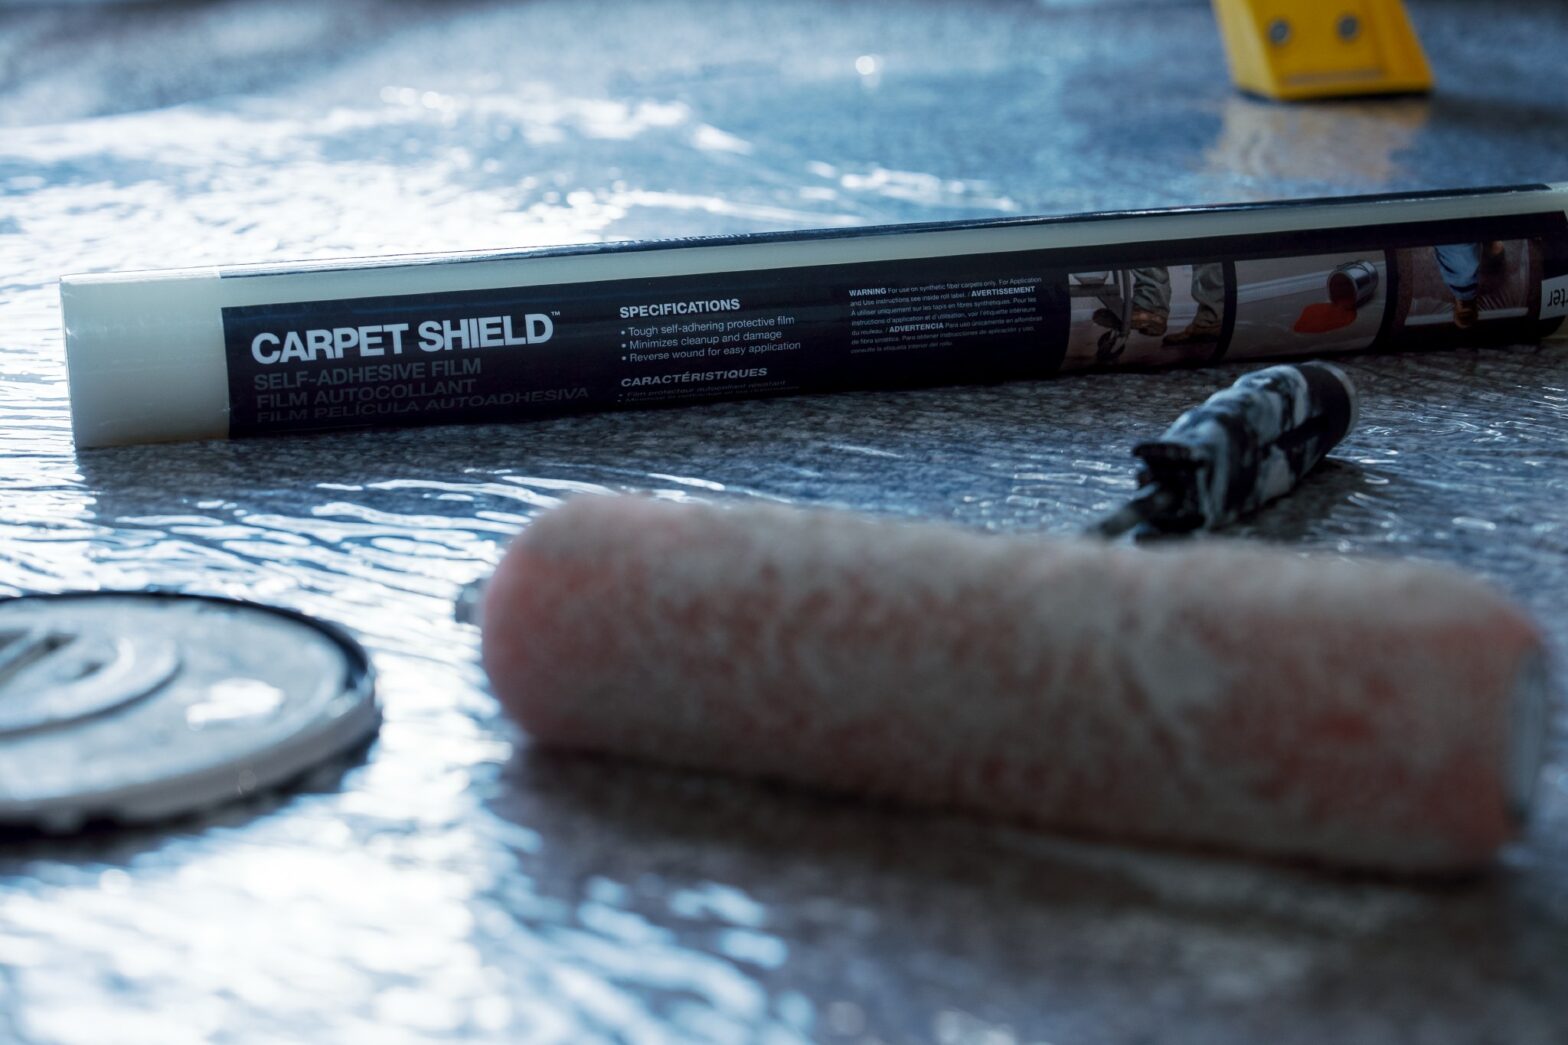
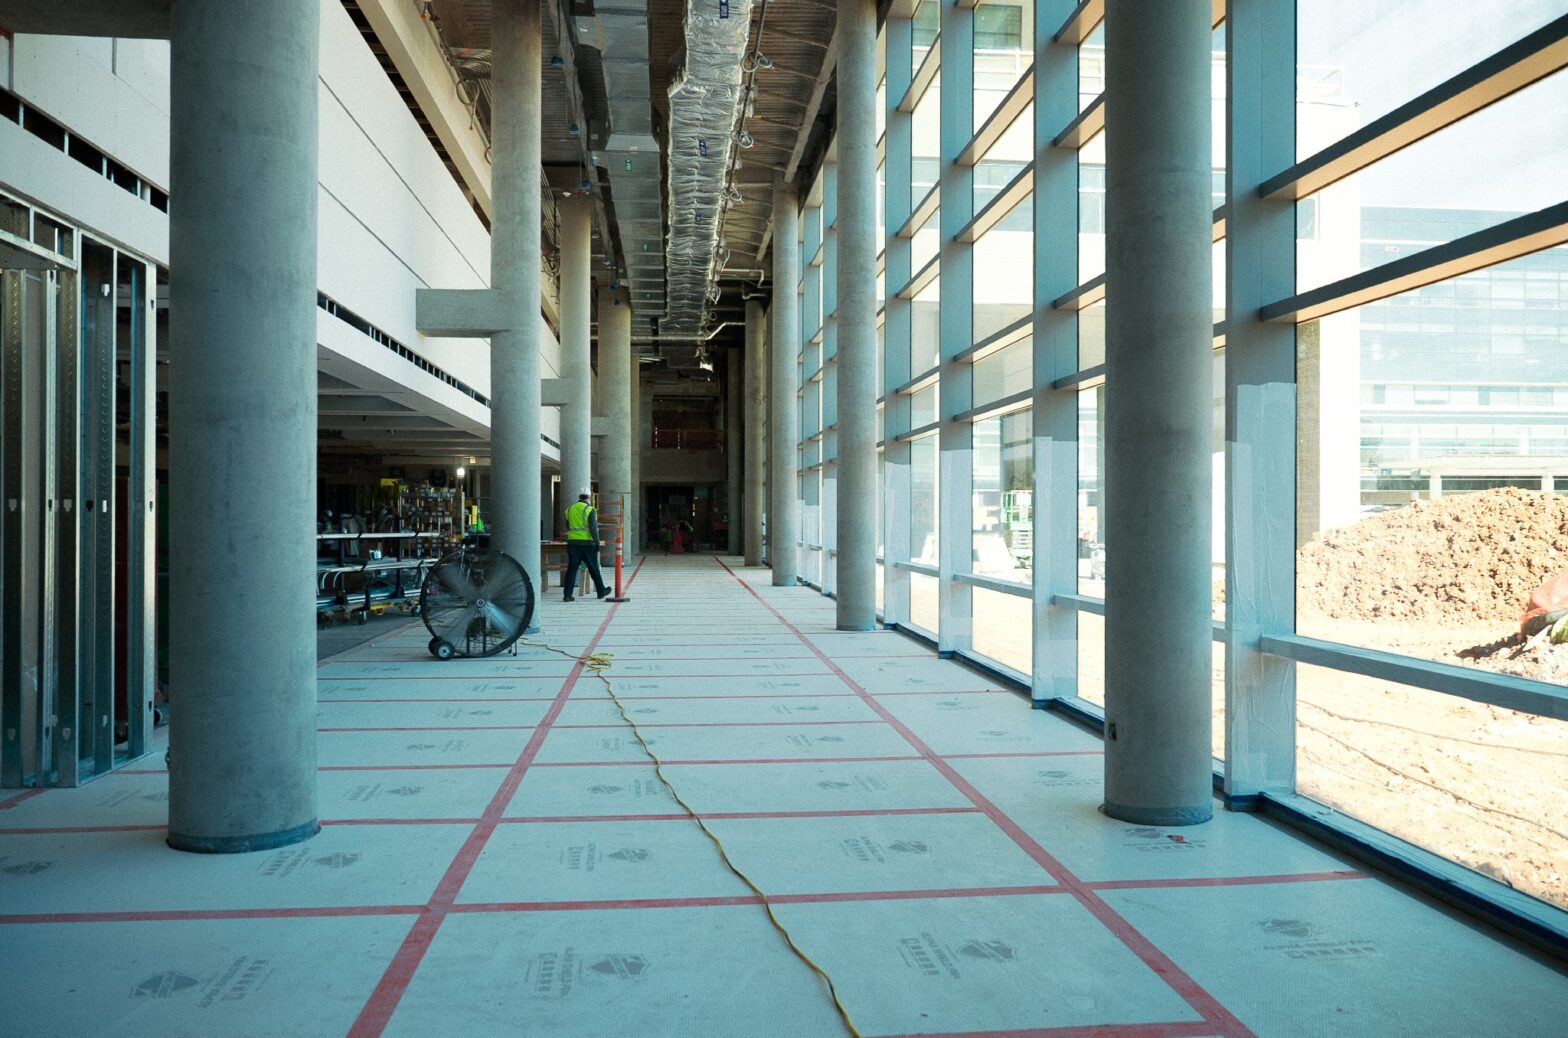
- What type of floor are you protecting? Carpet, stairs, concrete, hardwoods? Surface Shields offers specific products and films for specific flooring types, and it’s important to only install on those floor types to prevent damage.
- What level of protection is needed? From lightweight foot traffic and spills to frequent heavy machinery traffic, it’s important to understand what elements your protector will be facing to determine the longevity of our product.
- Are any of the following specific features needed? If so, you’ll need to make sure your productor includes them.
- Slip Resistance
- Leak Resistance
- Flame retardant
- Breathability
In addition to choosing the right product, it’s also important to measure your space to make sure you have enough product.
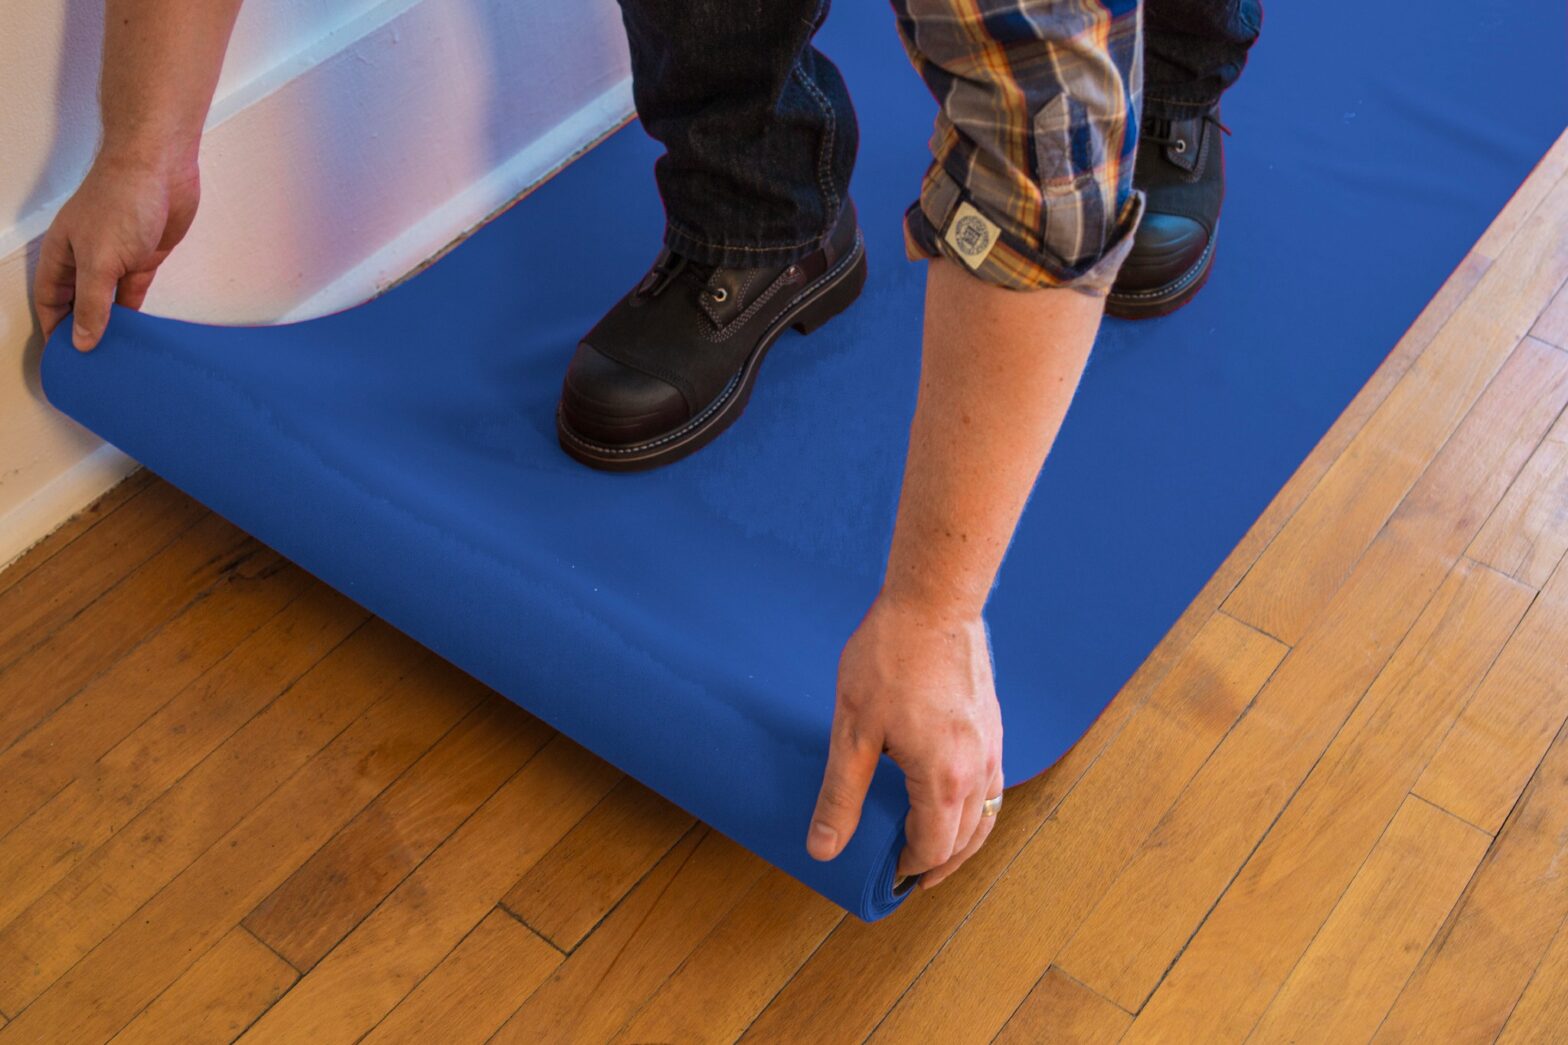
3. Proper installation techniques
When installing your floor protection product, make sure you follow the proper installing techniques recommended by the manufacturer. A few examples include:
- Floor films can be easily installed using a multi film applicator.
- When installing a heavy duty board product, utilize the bend back method, multi cutter and tape seamer.
- Invest in the correct seam tape and perimeter tapes that correlate to the product you’re using
4. Adhere to manufacturer recommendations and guidelines
It’s important to review and implement all of the manufacturers recommendations when installing, removing and storing surface protection products. This will prevent damage and potential accidents from happening on the job. When in doubt, review the product’s safety data sheet.
5. Regular inspection and maintenance to prolong the life on the product
Check your floor protection regularly to make sure there are no tears or standing liquids. If your surface protector is damaged, remove and replace to prevent damage to the floor underneath. In addition, replace seam tape if needed to ensure the longevity of the product.
Prolong the life of your surface protection products
Installing floor protection products is an important step in maintaining the integrity and appearance of your floors. Following these best practices to ensure you’ve chosen the right product, installed it correctly, and maintained it to maximize the level of protection for your floors. Explore Surface Shields’ full line of surface protection products, or contact our team today.